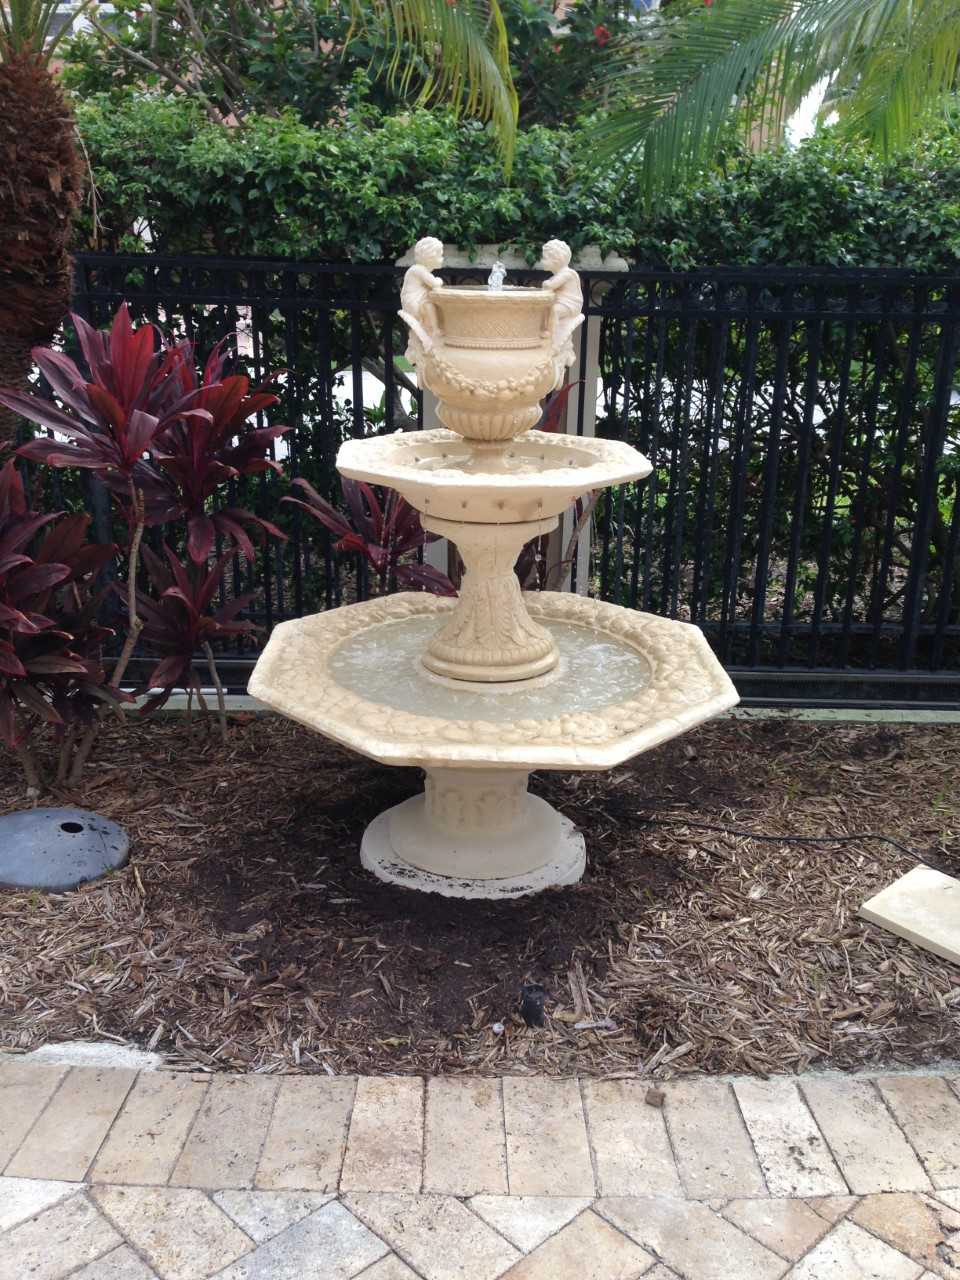
The process of repairing a fountain can vary depending on the specific issue, but here are some general steps to consider:
- Identify the problem: Before starting any repair work, it’s important to diagnose the problem with the fountain. Common issues include leaks, pump failure, clogs, and damaged or missing parts. Once you’ve identified the problem, you can determine what tools and materials you’ll need for the repair.
- Turn off the power: If your fountain is electric, turn off the power before attempting any repairs. This will help prevent electrical shocks or other hazards.
- Drain the water: If your fountain is full of water, you’ll need to drain it before you can work on it. You can use a sump pump, a wet/dry vacuum, or simply a bucket to remove the water.
- Repair or replace damaged parts: Depending on the problem, you may need to repair or replace certain parts of the fountain. This could include replacing a broken pump, cleaning or replacing a clogged filter, or patching a leak.
- Clean the fountain: Once you’ve made the necessary repairs, clean the fountain thoroughly before refilling it with water. This will help prevent future problems and keep the fountain looking its best.
- Refill and test the fountain: Finally, refill the fountain with water and turn it on to test that everything is working properly. Keep an eye on the fountain for a few days to make sure there are no further issues.
If you’re not comfortable doing the repairs yourself, consider hiring a professional fountain repair service to help.
Add Comment