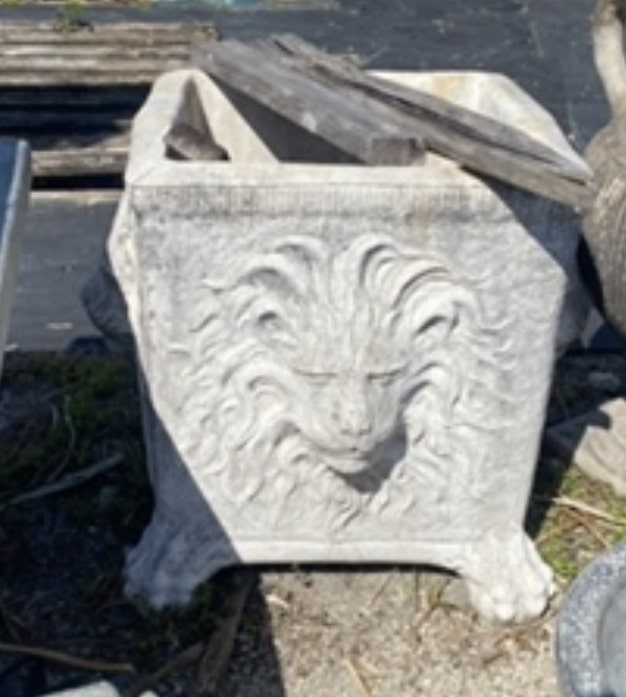
Concrete planters are a popular choice for gardens, patios, and other outdoor spaces. They’re durable, long-lasting, and can hold a variety of plants. However, over time, these planters can accumulate dirt, debris, and even algae. To keep them looking their best, it’s important to clean them regularly. In this blog post, we’ll go over the steps on how to clean concrete planters.
- Empty the planter – Before you start cleaning the planter, empty any soil, rocks, or plants that are inside. You don’t want to get water or cleaning solution on your plants or soil, and it’ll be easier to clean the planter without any obstructions.
- Rinse the planter – Once the planter is empty, use a garden hose or pressure washer to rinse it off. This will remove any loose dirt or debris from the surface of the planter.
- Apply a cleaning solution – Next, apply a cleaning solution to the planter. You can use a mixture of water and dish soap or a commercial concrete cleaner. Apply the solution with a scrub brush and work it into the surface of the planter.
- Scrub the planter – After applying the cleaning solution, use a scrub brush to scrub the planter thoroughly. Pay special attention to any areas that have accumulated algae or dirt.
- Rinse the planter again – Once you’ve scrubbed the planter, rinse it off with a garden hose or pressure washer again. Make sure to rinse away all the cleaning solution and any remaining dirt.
- Let the planter dry – Finally, let the planter dry completely before adding any soil or plants back in. This will prevent moisture from getting trapped inside the planter and potentially damaging your plants.
In conclusion, cleaning concrete planters is a simple process that can be done in just a few steps. By following these steps, you can keep your planters looking clean and new for years to come.
Add Comment